Sake Brewing
Spiritual Journey from Brown Sugidama to Green Sugidama -Sake Brewing Process-
In this page, we would like to talk about sake brewing process. It is in a way, a spiritual journey from Browm Sugidama to Green Sugidama.
Those beautiful photos are courtesy of Yoshida Brewery of Tedorigawa. We cannot thank Yoshida Brewery enough for his generosity.
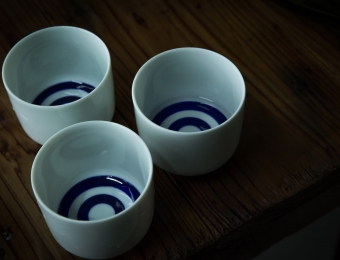
We would like to mention that the white sake cup that the Brewmaster uses in the photos below is “Hon Kikichoko” only available in 180ml (1 Go in Japanese measurement) – Traditional sake tasting cup with layers of hand-painted blue circle on the inner base.
A layer of blue circles allows you to see the colour of sake. Also, by using the same Kikichoko to taste any sake, you can examine the quality of a sake in the best manner.
Brown Sugidama
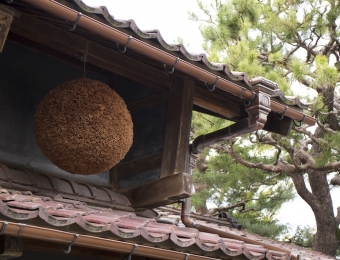
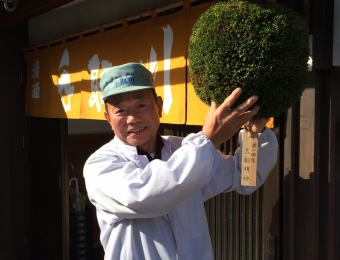
Before the new sake brewing season begins, Sugidama (Cedar Tree Ball) is brown, showing the maturation of sake from previous season…
Brown Sugidama shows sake from previous season is now mature and new brewing season is coming close. Sugidama is hanged to thank Gods for successful sake brewing.
Also it functions like a clock for local sake consumers to see how mature the sake is from the brewery.
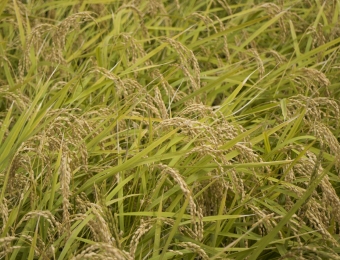
Harvest around October
Sake brewing process starts with Rice Harvest. When harvest takes place depends on which kind of sake rice, but in general, early ripening rice in cold region, late ripening rice in warmer region. For example, Yamadanishiki, the king of sake rice is late ripening rice from South West of Japan, whereas Gohyakumangoku is originally from Niigata and is early ripening rice.
Seimai (Rice polishing)
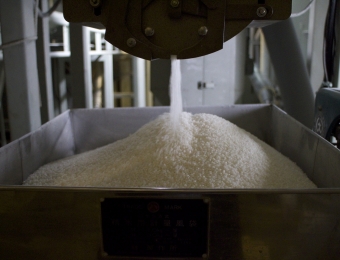
Rice for sake brewing is polished to remove unwanted fat, protein, minerals. Brown outer layer is removed completely almost all the time, whereas some middle layer could remain unpolished depending on the sake grade that the brewer is trying to make. In general, more polished the rice, cleaner and purer the style of sake gets as it will have less protein, fat and vitamins.
Senmai & Sinseki (Rice Washing & Soaking)
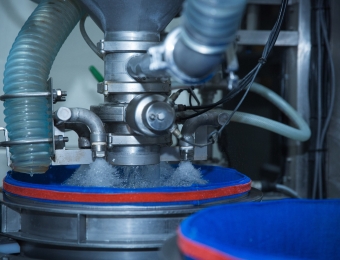
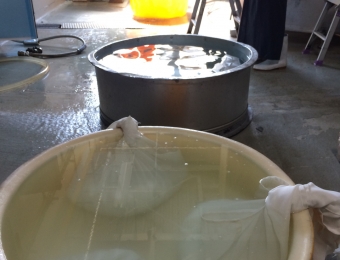
After rice polishing, rice is washed to get rid of rice dusts from polishing, and soaked to regain lost moisture during polishing. Usually soaking is measured in matter of a second by a stop watch, but there is a rice washing and soaking machine also available, where it controls condition of rice very precisely.
Rice Steaming
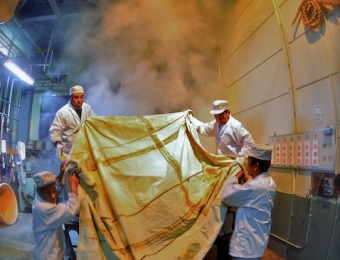
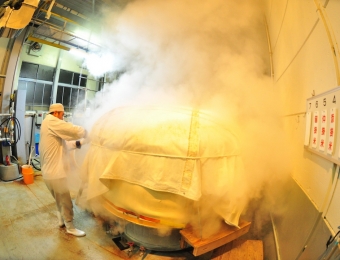
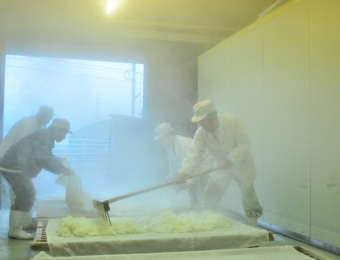
Now rice is steamed to make them softer – this makes it easier for Koji moulds to propagate and produce enzymes to saccharify the starch in rice as well as rice to melt in water during fermentation. Ideal steamed rice has hard texture outside and soft inside to keep its original shape of a grain. the hot water steam is coming from below, steaming each layer of rice to ideal degree of steaming.
Steamed Rice Cooling
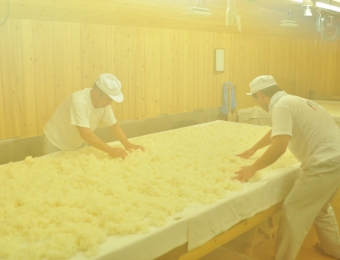
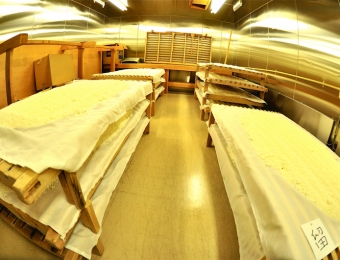
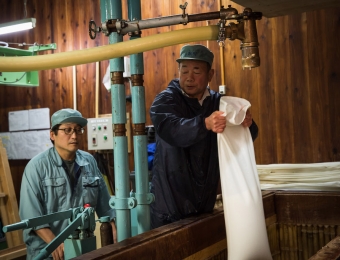
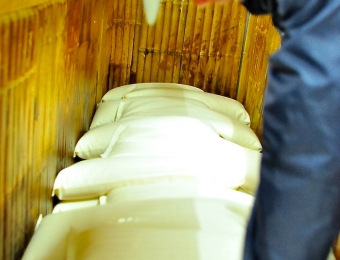
Steamed Rice is cooled down to the ideal temperature for Koji moulds to grow. Rice is taken out of the steamer and brought to the cooling area with wooden boards covered with white cloths.
Koji Rice Making
Bringing Steamed Rice into Koji Room (Hikikomi)
Koji Room is the special room where temperature and humidity are controlled to suit Koji propagation on steamed white rice.
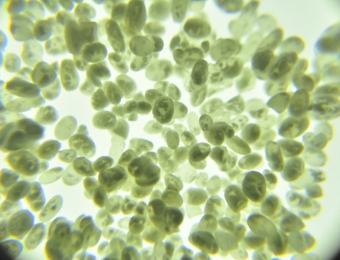
Koji is a kind of mould which propagates on steamed rice and produce enzyme to saccharify starch in rice into glucose during fermentation.
This glucose is then turned into alcohol, CO2 and heat also through fermentation.
After cooling steamed white rice, 20% of it id taken into Koji Room to make ideal Koji for the sake.
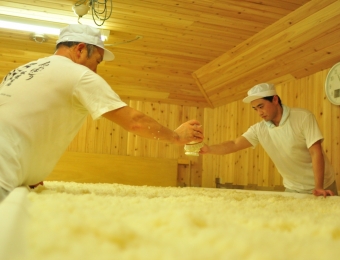
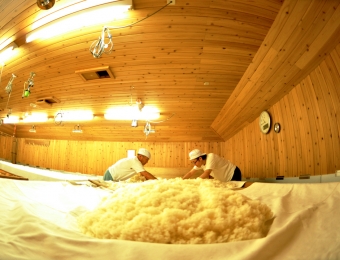
Spread Steamed rice over the table carefully (Tokomomi 1)
Steamed rice is spread over the table in thin layers inside the warmest and most humid parts of Koji Room.
Sprinkle over the powdered Koji mould (Tokomomi 2)
Sprinkling Koji mould seeds over steamed rice and wrapped with cloth to keep it warm and moist.
Turning Round (Kirikaeshi)
On the same day as seeding steamed white rice, rice with Koji is mixed after the resting to keep equal distribution of temperature and growth of moulds.
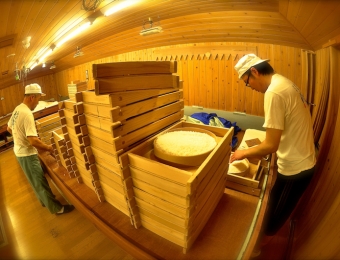
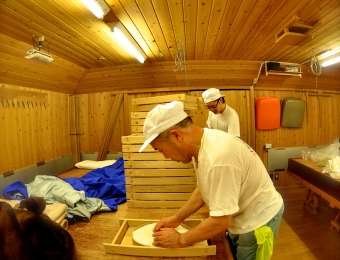
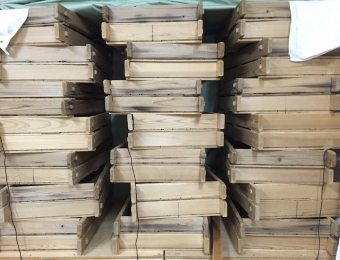
Placing Koji Rice on the wooden lids (Mori)
The size of the lid depends on the grade of sake that Koji rice will be used for. Higher the grade, smaller the size of the wooden lid to allow more precise control on mould growth.
Middle Step (Naka Shigoto)
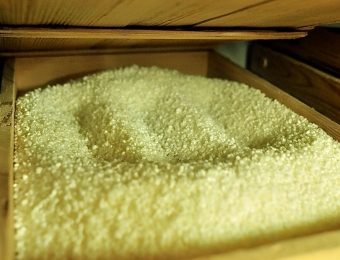
A well is made in Koji Rice in the wooden lids to control the temperature of propagation. Smaller when cooler, bigger when hotter. It is called Naka Shigoto (Middle Step).
Final Step (Shimai Shigoto)
Final mixing called “Shimai Shigoto”, vortex pattern is drawn on Koji Rice in wooden lids to prevent further increase in temperature.
Taking Koji Rice out of Koji Room (Dekoji)
On the third day of Koji Making, propagated Koji Rice is moved into the coolest part of Koji Room to prevent further growth. Each Koji tray has different levels of mould growths and allocated to different stages of main mash making accordingly.
Koji Rice
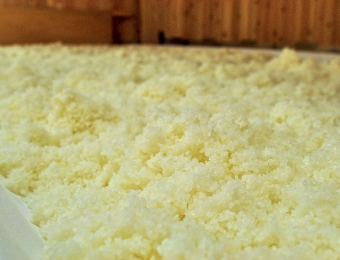
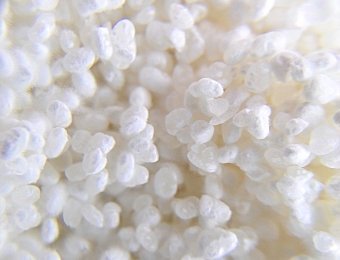
Proportion of propagation is bigger on rice grain for full bodied, higher-volume production (Sohaze), and less for lighter more fragrant style of sake production (Tsukihaze). To create different level of fullbodiness, it is crucial to get the mould growth at the right level.
Starter mash making (6% of total main mash)
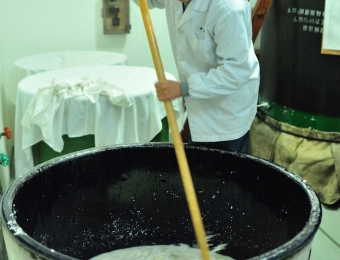
Yeast, Water and Koji Rice mixed together in small quantity (around 200kg)
Lactic bacteria is either invited from the air or cultivated ones are added in order to protect yeast from other harmful bacteria. It takes following lengths of time according to each method available.
Kimoto (3weeks), Yamahai (3weeks), Sokujo (2weeks) Moto making
Starter mash is made in order to make sure healthy growth of yeasts inside before moving onto the main fermentation.
3 Steps Main mash making (Moromi Sandan-Jikomi)
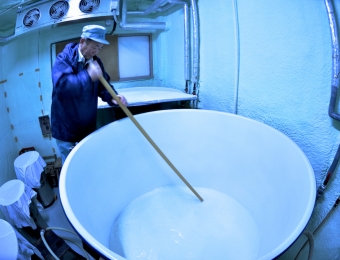
After making sure the healthy growth of yeasts, the main mash is made for the maiIt is completed with 3 steps over 4 days. Water, steamed white rice and koji are added in 3 batches over 4 days. It takes step by step approach in order to keep the healthy balance of enzymes, yeasts and sugar inside fermentation.
Actual fermentation
It takes for 14-35 days depending on the choice of yeast. Higher the grade of sake, longer the actual fermentation takes. It is due to lower temperature for the fermentation with ginjo yeasts.
Multiple Parallel fermentation takes place inside the tank. It is a conversion of starch into sugar and sugar into alcohol take place in the same tank. This is the main reason why sake fermentation can go higher in alcohol compared to other fermented alcohols.
Addition of brewer’s alcohol
Depending on the style of sake being brewed, some might have an addition of brewer’s alcohol at this stage.
Pressing
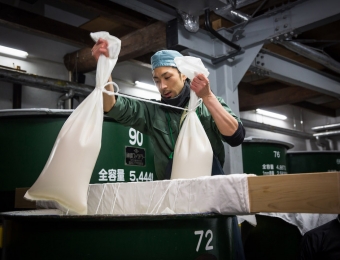
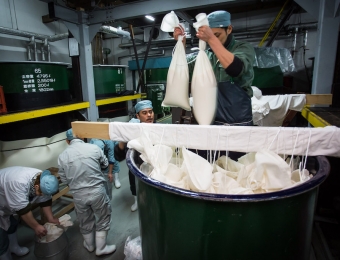
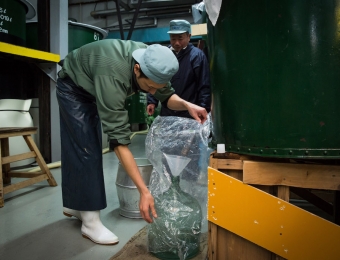
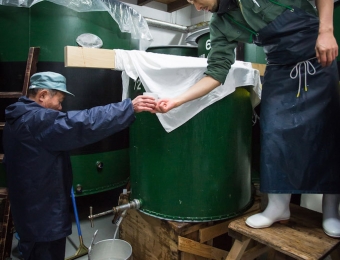
There are three different pressing methods for sake. Most precious way to press sake is Bag Hanging method, followed by Hune Press then most modern Accordion press (Yabuta)
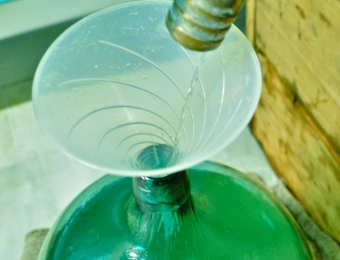
The best press is gathered into special bottles sized 18L each (Tobin) to minimise its contact with oxygen. The best out of those Tobin collection will be bottled as a most prestige cuvée.
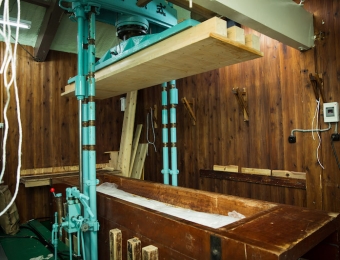
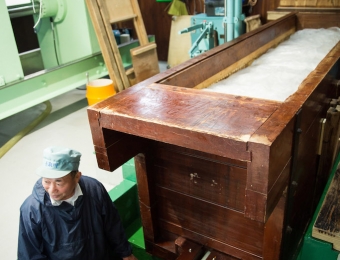
Hune Press
Hune Press first uses the weight of sake mesh bags to get free run sake then applies two different level of pressures vertically to get middle and last presses.
Those three batches are called “Arabashiri” “Nakadori” “Seme” respectively.
Bag Hanging Method
Pressing sake by hanging sake mesh bags over the tank – Only used for most prestige sakes. The sake pressed with this method is usually more elegant and complex.
Accordion Press (Yabuta Press)
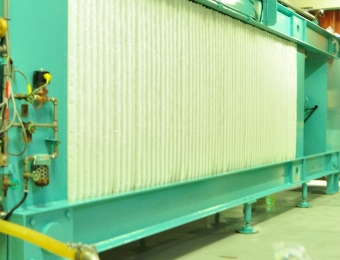
Accordion Press (Yabuta Press)press sake out of the mash by pumping the mash into a large pressing machine like an accordion. Rubber bags inflate inside to press sake through many filtering meshes, shaping sake sediments into neat wooden board shape.
Lacking
Clear liquid is removed after the major amount of sediments are settled at the bottom of the tank after a number of days.
Filtration – Optional – Micro, Charcoal, Paper
Filtration is
– to remove all the small particles remaining in the sake
– to remove colour
– to remove any unwanted flavour and smell
Some brewers choose not to filter sake because they believe it is more appearing.
1st Pasteurisation – optional
It is usually done with a heated coiled metal pipe with hot water in the tank.
If sake is not going through tank storage,
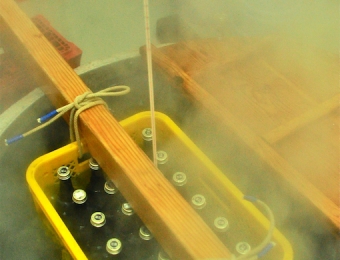
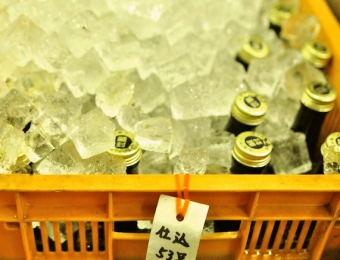
then it may be bottled already at this stage and pasteurised in the bottles.
Tank storage
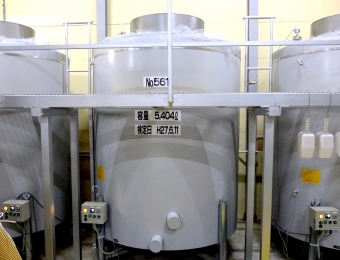
Sake maybe stored in the tanks at various temperature from -5 upto 15 Celsius. Storage period varies for each sake from half a month to 5 years.
Blending different tanks
Sake in different tanks shows different character.
those are blended to create the best balanced, ideal style of sake.
It is an art of blending.
Dilution
Some sake are diluted with spring water to get an ideal style.
Alcohol strength is diluted down to around 15-16%.
If sake is left undiluted, it is called “Genshu” and alcohol strength is around 18-21%.
2nd Pasteurisation – optional
It could be done by coiled metal pipe again or in the bottles. From the beginning to the end, sake making takes at least 3 months.
Green Sugidama
At the end of the sake brewing season, green sugidama (cedar tree ball) is hanged to show locals that sake is now being pressed within the brewery.


